
Shop Discounted All-In-One Hardscape Kits Now – Get Everything You Need in One Bundle
Shop Discounted All-In-One Hardscape Kits Now – Get Everything You Need in One Bundle
How To Install Low Voltage Landscape Lighting

Whether you’re looking to enhance the aesthetic appearance of your landscape or increase visibility in your yard at night, low voltage landscape lighting is a cost-effective way to do just that. Due to their lower voltage, they also don’t require deep trenching, making them easy to install yourself. In this guide, we’ll cover everything you need to know for installing low voltage landscape lighting.
How Does Low Voltage Landscape Lighting Work?
Low-voltage landscape and hardscape lighting systems use a transformer to step down household line voltage (120VAC) to a safer low voltage (12VAC – 24VAC). These systems typically include components such as a low voltage transformer, underground low-voltage cable, and light fixtures. Sauders Hardscape Supply offers everything you need for installation, helping you illuminate pathways, gardens, decks, walls, and other outdoor spaces with ease.
What Are the Benefits of Low Voltage Lights?

Safety and Security
Low voltage landscape lighting not only improves nighttime visibility but also enhances safety around your home. Operating at just 12-24 volts, these systems minimize the risk of electric shock, making them a smart choice for families with children or pets. Their low-voltage design is also safe for wet environments, making them perfect for lighting ponds or pools. Plus, a well-lit yard helps deter vandalism and theft, providing both security and peace of mind. When installing low voltage landscape lighting, you’re not just adding beauty to your property—you’re boosting safety and protection.
Weather Resistance, Durability, and Longevity
Another significant benefit is the weather resistance and durability of your lighting fixtures. Check their IP rating; an IP rating of 65 to 67 is weatherproof and suitable for outdoor use. The material it’s made of is another indicator of weather resistance and durability. Materials such as stainless steel, aluminum, and brass are good at withstanding outdoor conditions. Due to their lower voltage, these lighting fixtures operate at a lower temperature, resulting in a decreased risk of overheating or potential fire hazards, extending their overall lifespan. In addition, when paired with an LED bulb, these lighting fixtures have a longer lifespan than those with traditional incandescent or halogen bulbs.
Energy Efficient
Using low voltage landscape lighting reduces your energy consumption by operating at lower voltage levels, which leads to significant savings on your electricity bill. Combining these fixtures with LED bulbs can cut energy usage even further. The result is a highly energy-efficient system that saves you money and minimizes greenhouse gas emissions, making it an eco-friendly choice for illuminating your outdoor spaces.
Ease Of installation
Low voltage landscape lighting is much simpler to install because it doesn’t require deep trenching or conduit, making it a faster and more straightforward DIY project. You can easily set up your system with just a few key components—a transformer, direct burial wire, and the appropriate fixtures. The process involves positioning the fixtures, laying the wire from one fixture to the next, attaching them with waterproof, outdoor-rated connectors (often using silicone gel for sealing), and connecting the wire to the transformer. There’s no need to bury the wire deeply—around 6 inches is sufficient.
Control & Automation
Low-voltage landscape and hardscape lighting can be seamlessly integrated with timers, motion sensors, and smart home devices, allowing you to control when your lights turn on and off, boosting energy efficiency. Many manufacturers now offer smart home-compatible timers, transformers, LED bulbs, and integrated fixtures. With these tools, you can set custom schedules, ensuring your lights only operate when needed, reducing energy waste and cutting down on your electricity costs.
Cost Effectiveness
Low-voltage landscape and hardscape lighting offers a more affordable upfront investment and is more straightforward to set up than high-voltage options. With lower maintenance needs and built-in durability that extends its lifespan, this lighting solution also delivers long-term savings.
What Kind Of Low Voltage Landscape Lighting Is Available?
Low voltage landscape lighting comes in various types. It can light up a path, deck, fence, tree, and more. Let’s go over a few types of low voltage landscape lighting:
Step Lighting

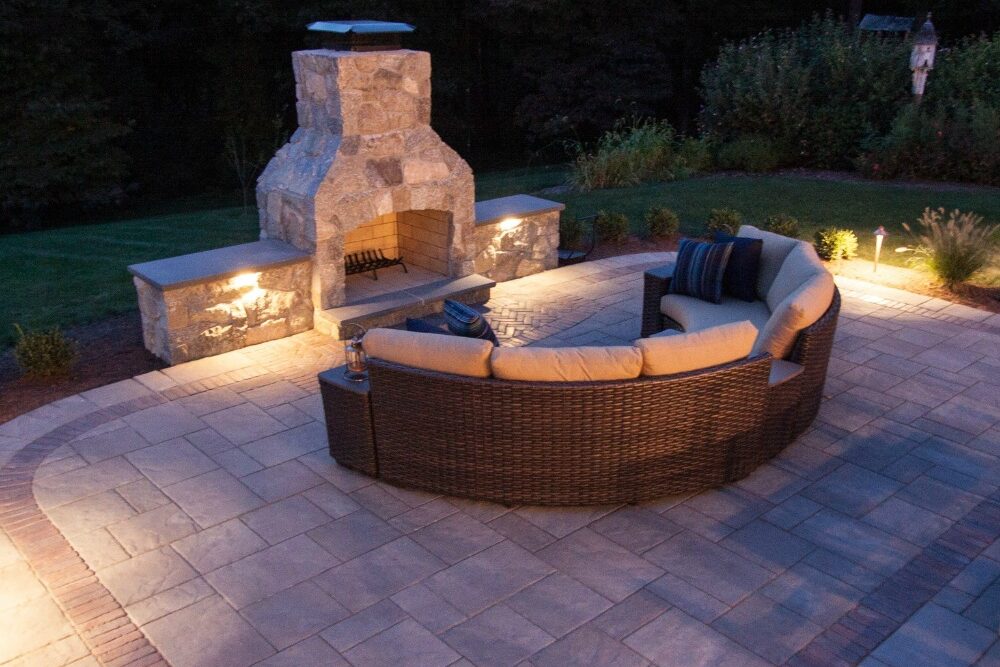
Traversing steps late at night can be dangerous, but with low voltage step lighting, you can see where you’re going. These lights fit seamlessly under the caps of your steps. Mounted in the overhang area between the front edge of the cap and the face of the block, it is virtually unnoticeable by day but ensures that you see each step at night. These lights will be the same fixtures you can use under the caps of your retaining or sitting walls. They will increase the visibility of the wall and accentuate the architectural beauty.
In-Paver Lighting
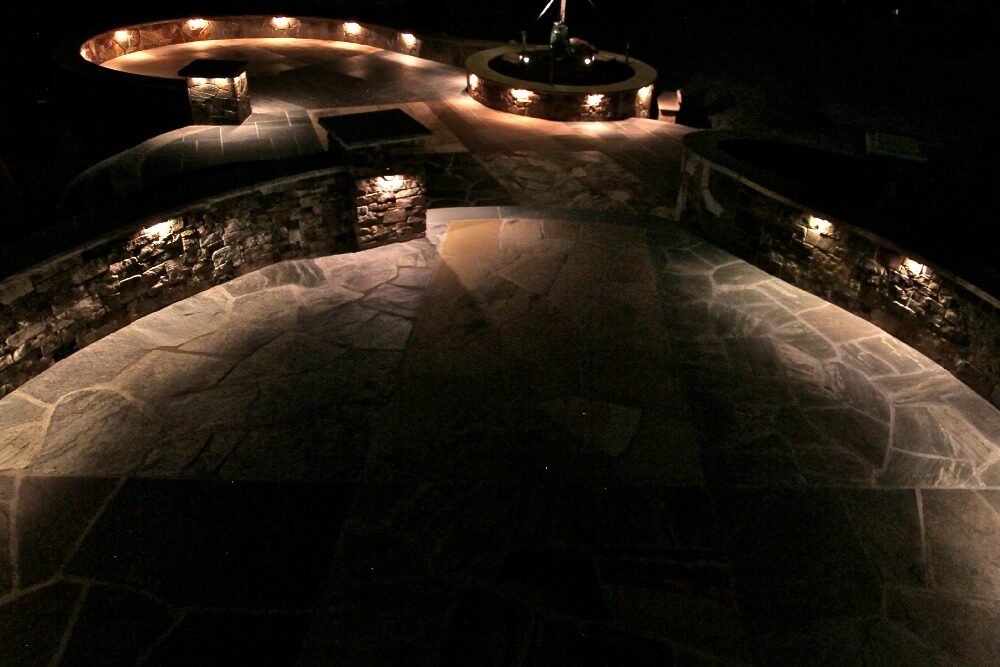
Increase the aesthetic appeal of your patio, walkway, garden, and more with a paver insert. These lighting features are inserted directly into the paved surfaces of your patio, walkway, or garden; they not only increase visibility at night but also increase the visual appeal of these outdoor spaces. This lighting allows you to completely customize your pathway. You can even have lights mounted specifically between your pavers in the joint of your pavement.
Retaining Wall
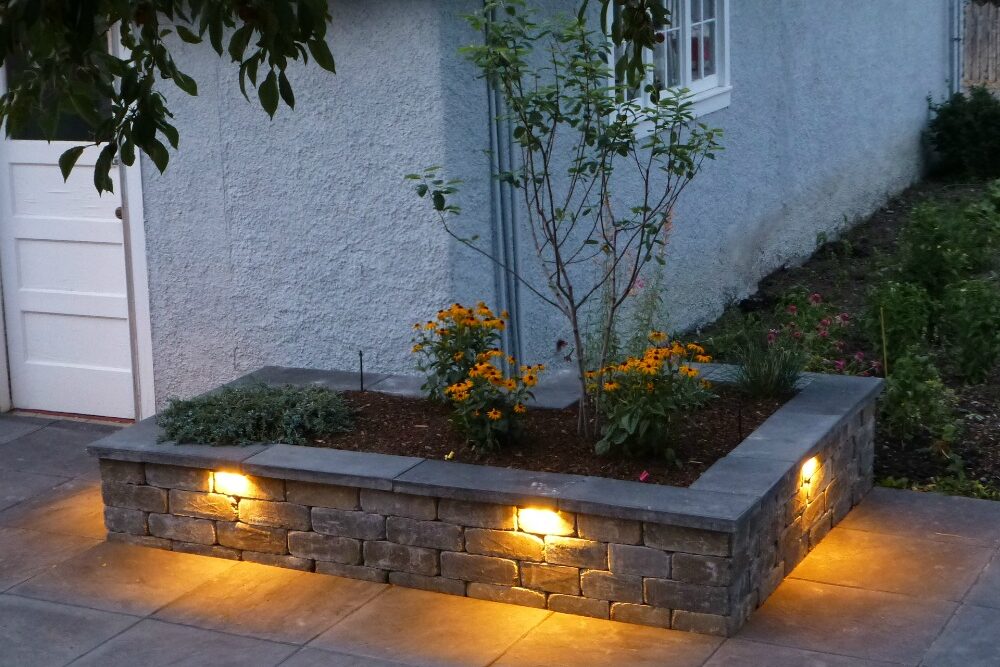
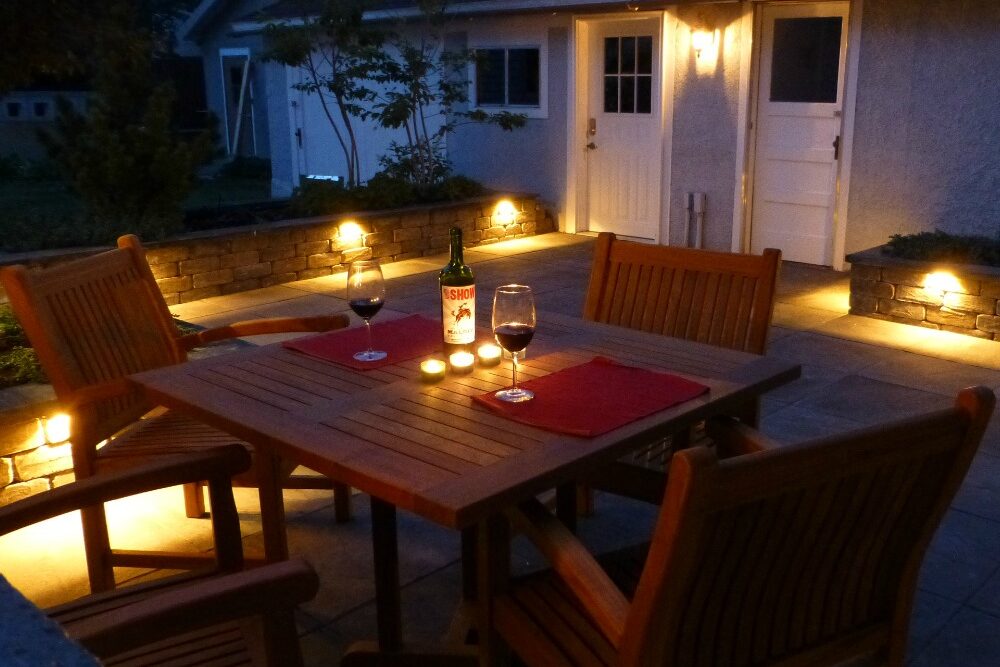
Low voltage landscape lighting can be added to retaining walls as well. The same lights used in step lighting, they fit right under the cap of your wall, blending in seamlessly while still increasing visibility. You can add them to your patio walls, around your flower bed, water feature, pool deck, and more.
Path Lighting
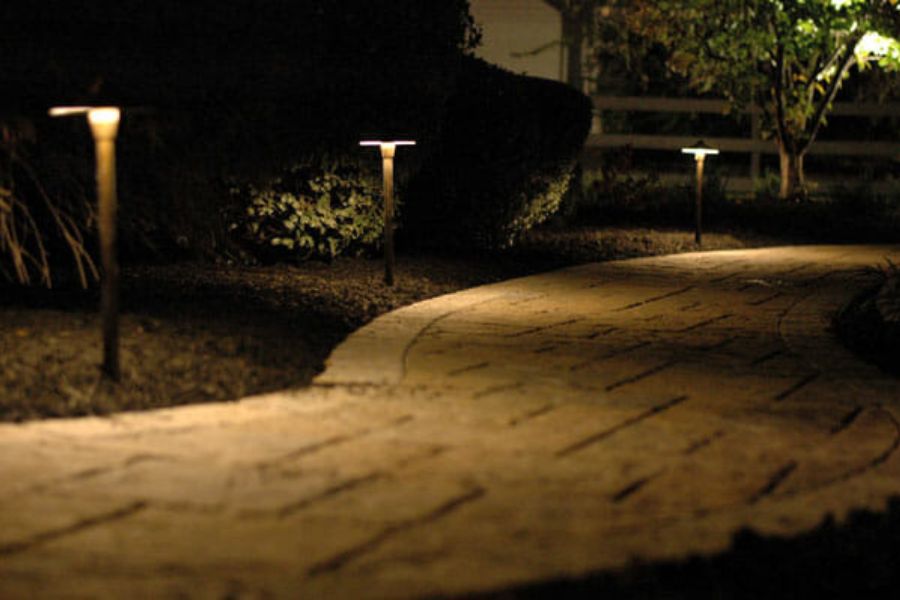
These lights blend in seamlessly with any landscape. They can be inserted directly into the path and/or patio or rise above alongside the area. Consider adding low-voltage lighting, whether you want to increase visibility at night or add visual appeal to your walkways.
Uplighting/Spot Lighting

This type of lighting is installed at ground level and directs light upwards to highlight specific architectural features or add visual appeal to your outdoor space. Uplighting includes fixtures such as well lights (in-ground), in-paver lights, or spotlights. Want to draw attention to your sculptures, deck, patio, trees, or shrubs? A low-voltage spotlight is an energy-efficient way to accentuate the details of your landscape and increase visibility at night. You can direct the beam wherever you want, angling it to create different lighting effects.
Deck/Fence Lights

Want to extend the time you can spend enjoying your outdoor space? With our stock of LED fixtures, you can illuminate any part of your deck, from the steps to the railing. It will noticeably increase visibility and add ambiance at night without producing a glare. You could use an undercap/railing light to shine down from under a step or railing or an in-ground/in-paver light to shine up from below. Read more about ideas for deck lighting.
Downlighting/Spot Lighting
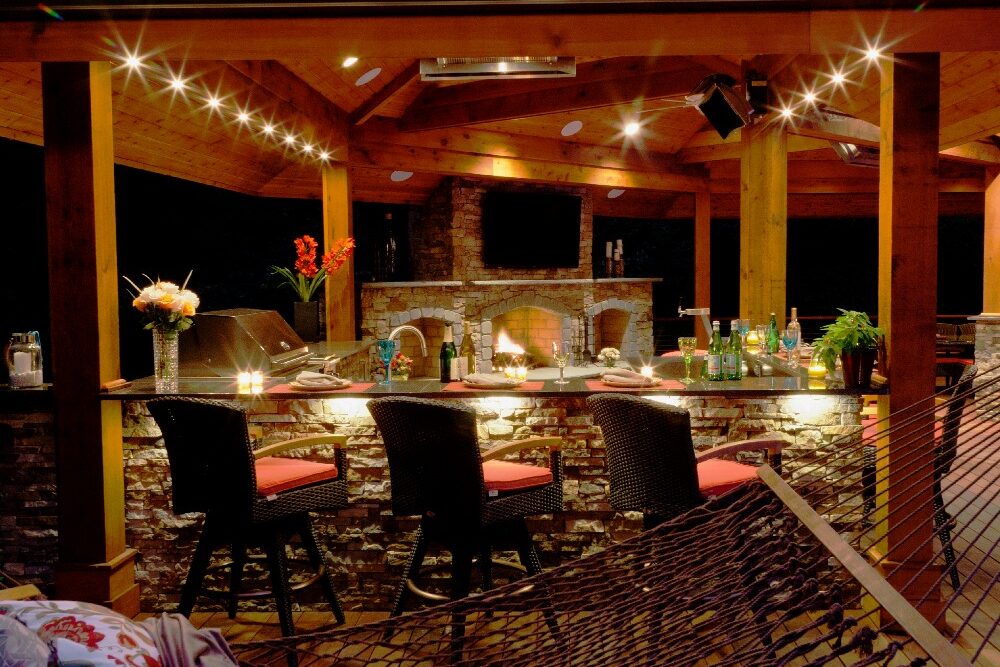
On a wall, in the corners of a pavilion, or even in a tree, downlighting can create an effect that accentuates a structure or landscape from a different perspective than from the more common uplighting perspective. Downlighting includes fixed wall lights and spotlights.
Low Voltage Landscape Lighting Accessories
Want to install your low voltage landscape or hardscape lighting yourself? We have all the accessories you need from transformers to cables.
Transformers
-
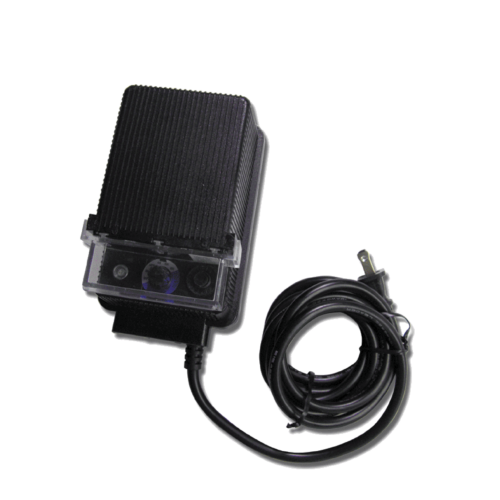 150 watt Magnetic Transformer (Resin)$149.96
 -
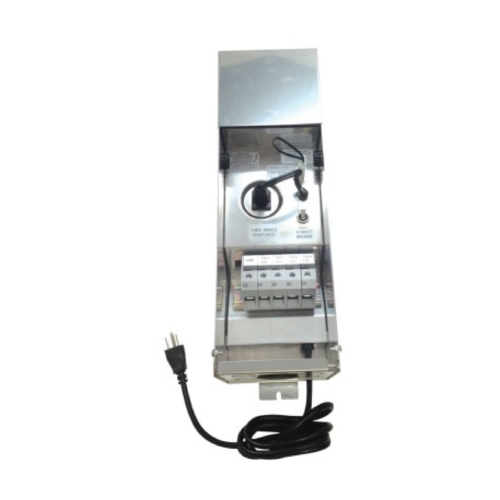 150 watt Magnetic Transformer (Stainless Steel)$353.00
 -
 300 watt Magnetic Transformer (Stainless Steel)$283.44
 -
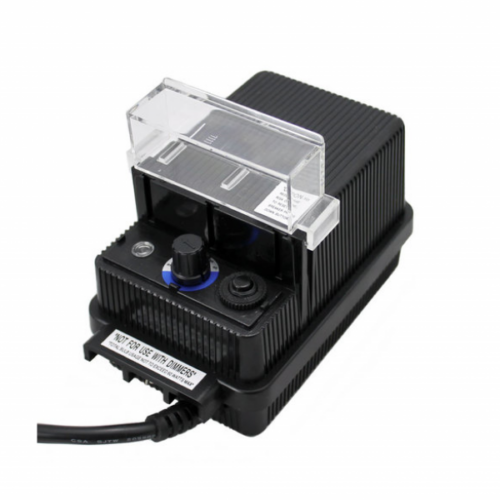 60 watt LED Electronic Transformer (Resin)$100.73
 -
 60 watt Magnetic Transformer (Resin)$112.95
 -
 75 watt Magnetic Transformer (Stainless Steel)$323.00
A transformer is required for the use of low voltage lamps and fixtures. Low voltage transformers supply the proper voltage and current for the load of your fixtures ensuring that your project is energized with optimum power every time. Our resin transformers include a built-in interval timer and photocell for automated control. Our stainless-steel transformers have a space inside the housing to add a timer (either mechanical or electronic/digital).
Low Voltage Cable/Wire
-
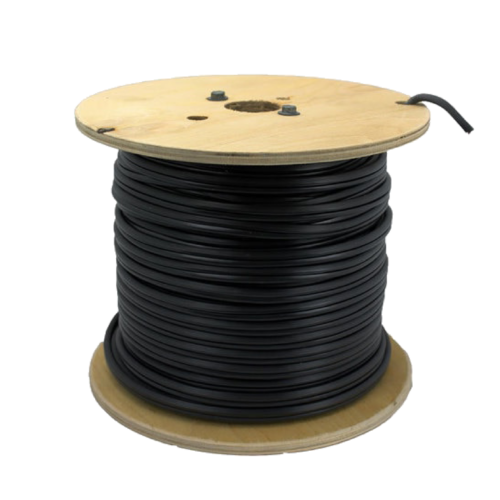 Low Voltage Cable$413.00
Do you need low-voltage cables to connect your lighting fixtures to your power source? We have a 250’ spool of 12/2 gauge low-voltage direct burial cable to help you do just that. It features a UV-resistant jacket and is intended for shallow burial, 6 inches in depth is all that is needed.
LED Lamps
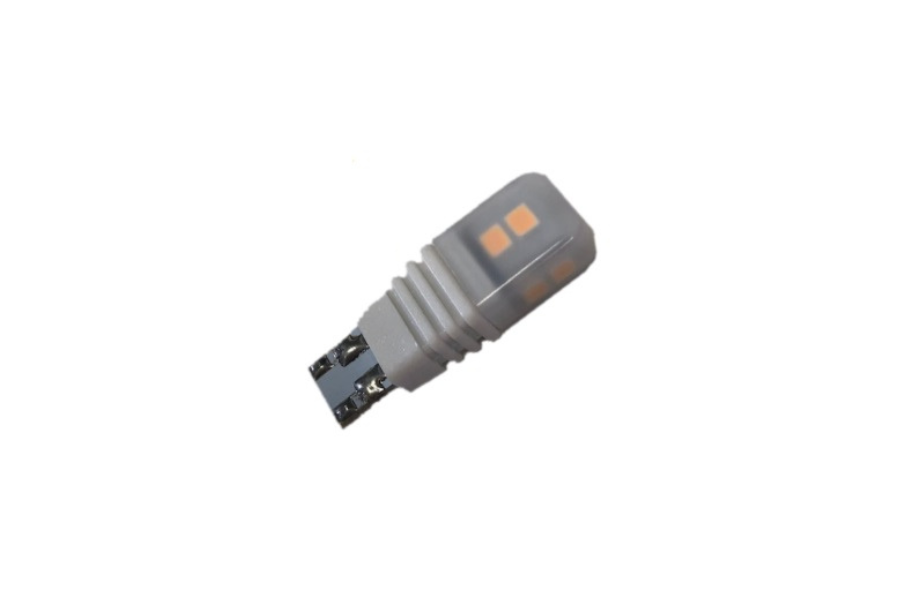
There are a variety of different types of LED lamps considered drop in lamps. Currently the G4 BiPin lamp is the standard for path lighting offered here at Sauder’s Hardscape Supply; although there are some path lights that still use a wedge base such as S8 or T5 and there are a few path light fixtures that use the SCB base (Single Contact Bayonet base). The MR16 is popular for uplighting and downlighting, but a few smaller spotlights require the MR11 or MR8. PAR36 is the larger lamp for some the well lighting (in-ground) and a few up lights.
Integrated fixtures began coming to the market a few years ago. An integrated fixture has an LED lamp integrated into the fixture. There is no drop in LED lamp. There is an LED module in place of a drop in fixture. The advantages of integrated fixtures include much improved heat sinking and grounding which increases longevity and resistance to power surges and lightning strikes over what a drop in lamp can absorb. The LED module is typically replaceable in the event of a strong lightning strike or power surge.
Connectors
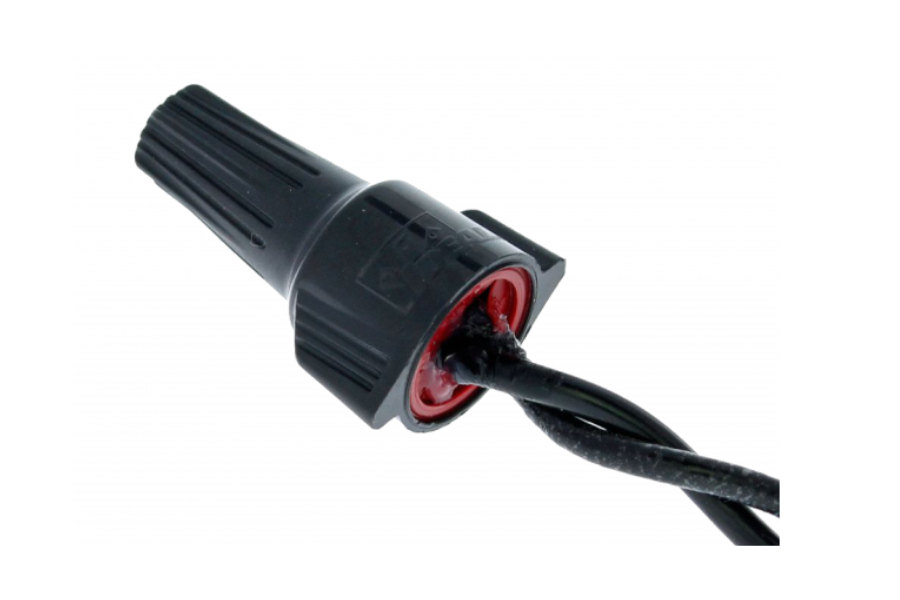
Proper connections are essential for successful installation. That’s why we recommend a splice joined by a waterproof connector such as our Ideal Connectors or SureSplice Connectors. Each connector is filled with 100% silicone sealant to provide protection from the elements. We offer a range of sizes and packaging options so you can get the connectors you need.
Core Drilling Accessories
We stock the correct size core drill bits for our in-paver lights and the corresponding water swivel to ensure a longer life for your core drill bit.
Timers
There are a couple types of timers available. We have mechanical, digital, and WiFi capable Smart Socket timers.
What Is The Best Type Of Landscape Lighting?
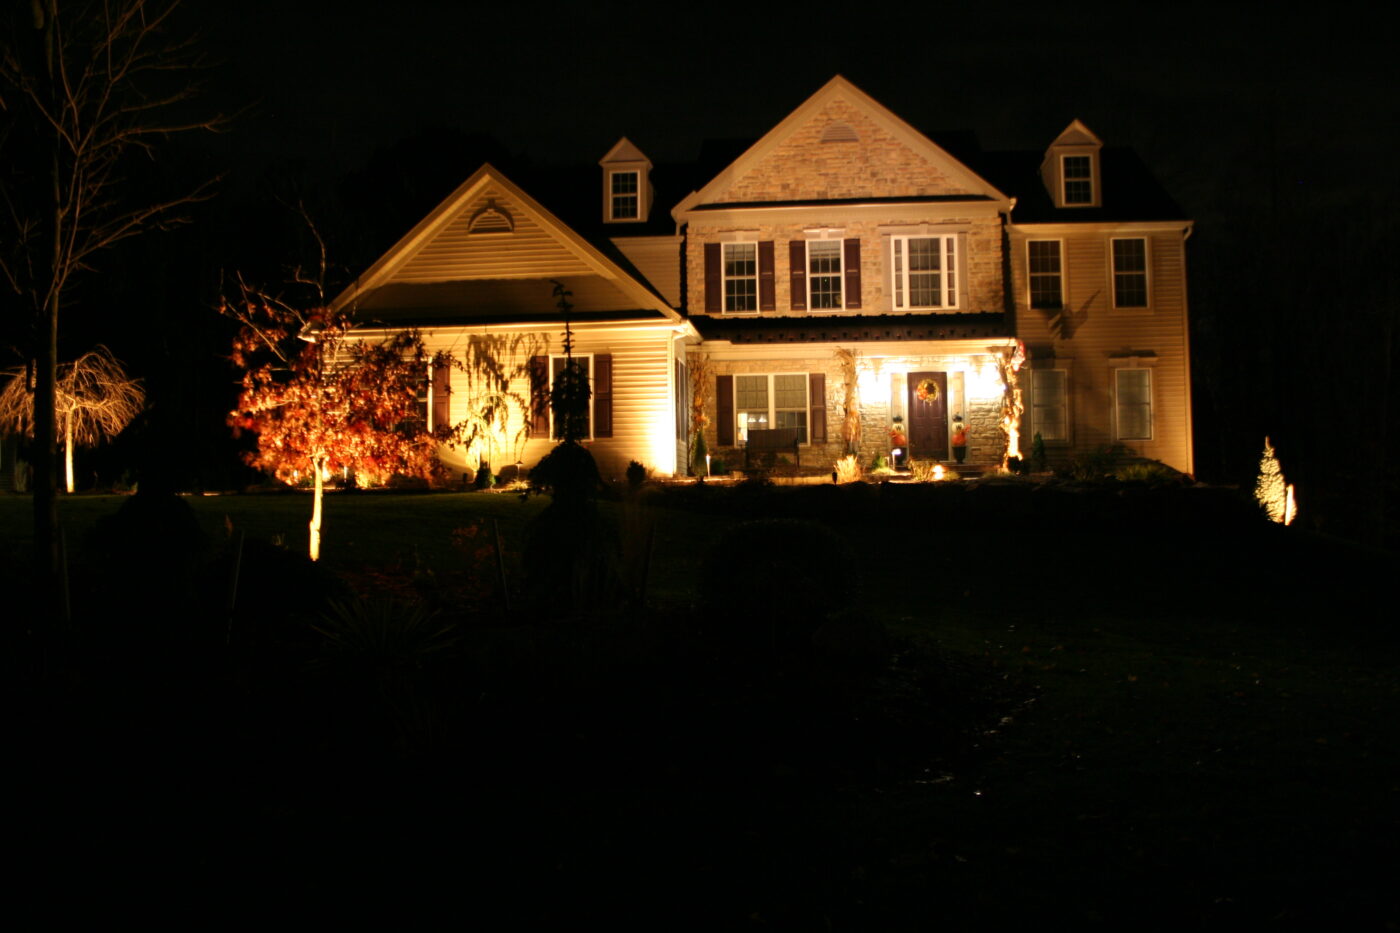
To determine which type of landscape lighting is best for you. and your project, there are a couple of factors that you need to consider:
Design, Purpose, and Functionality
You need to decide what your plans are and have a rough design layout in mind for your low voltage landscape lighting. Are you getting these lighting fixtures for aesthetic enhancement, safety and security, or an outdoor living space? Whether you want to increase the visual appeal of your property, increase visibility, or extend the usability of your outdoor spaces the application will help you determine which type of lighting is best.
Light Brightness and Kelvin Color Temperature
You’ll also need to consider how bright you want the lighting to be. Lumens is the measurement of brightness, so choose higher lumens for areas needing more light and lower lumens for more subtle lighting. You can also choose Kelvin color temperature. A warm white (2700K) creates a cozy feel; We have some under cap lighting that is very warm white at 2400K. Cool white(3000K) is brighter and more natural like daylight.
Power Needs
When choosing a transformer for your low-voltage lighting project, you will need to know the number of light fixtures and the corresponding wattage for each light fixture. The total number of watts for your lighting project determines the capacity of the transformer needed. An important note on the capacity of low voltage transformers, the advertised wattage of a transformer is the maximum wattage during the initial application of power available for that transformer. The operational wattage after that initial application of power is considerably lower. A good rule of thumb for the operational wattage of a transformer is 20% less than the advertised wattage. Example: a 300W (watts) transformer has 240W available for proper operation of the lighting system. If the total number of watts for your lighting project is 240W or less, a 300W transformer will fulfill your power needs. If the total number of watts is higher than 240W, then you will need to move up to the next higher capacity transformer.
Another possibility to consider is future expansion capacity. Will your lighting project increase over time? Are you planning to add more lighting in the future? It may be better if you invest in a larger transformer now rather than replace or add another transformer later.
Our transformers at Sauder’s Hardscape Supply start at 60W and go all the way up to 1200W. Some transformers have plastic resin housings, others have stainless steel housings. All our transformers are outdoor rated if installed according to the manufacturer’s instructions.
Control Options
Another factor to consider is the control options for your lighting system. All transformers offer either a space for a plug-in timer or they have a built-in timer. Timers can be mechanical, digital, or Smart WiFi App controlled. Most, if not all, transformers have the capacity to add or have built in a photocell for dusk to dawn operation. Some manufacturers offer a motion detection sensor as well. Other manufacturers include zone control into their transformers, and some offer an add on piece of equipment that works in conjunction with the transformer to control multiple zones.
How do I Design the Layout of My Low Voltage Lighting?
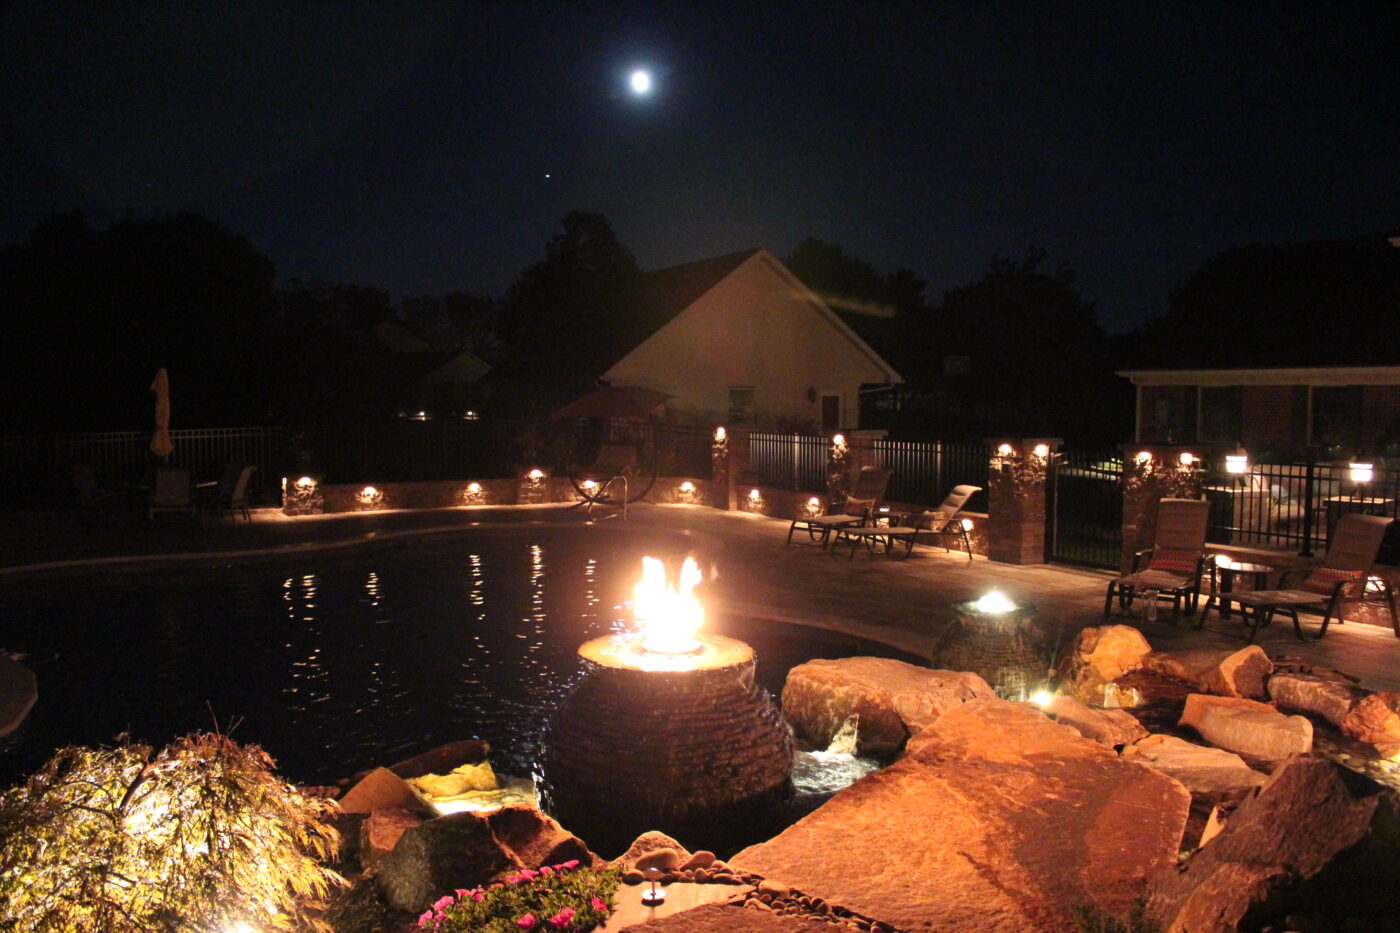
A good way to design the layout of your lighting project is to identify the zones or areas where you want to place your lighting and how you want the fixtures to be set up. These zones or areas could be your front yard, backyard, pathways, seating area, garden beds, architectural elements, and more. You’ll then want to decide each zone’s lighting goals and techniques. Placing the fixtures will be much easier once you’ve zoned your landscape.
How to Space Landscape Lighting
How you space your landscape lighting will depend on the type of lighting fixtures you pick and the zone they’re being placed in. Let’s look at the spacing recommendations for different styles of lighting fixtures:
- Path Lights: 4 to 8 feet apart along walkways and pathways
- Uplighting: 10 to 20 feet depending on the height and spread of the beam
- Deck and Step Lights: 6 to 8 feet apart along staircases, railings, or pathways
- Paver Inserts: 4 to 6 feet apart along the length of the pathway or patio
- Spotlights: 8 to 10 feet apart depending on what you’re trying to highlight
- Fence Lights: 6 to 10 feet along the length of the fence
- Tree Lights: 4 to 6 feet along the perimeter of the tree depending on what features of the tree you’re looking to highlight
- Wall Lights: 4 to 6 feet apart along the length of the wall
How Far Should Landscape Lighting Be from the Wall?
Typically, landscape lighting should be 1 to 2 feet away from the wall to prevent glare and harsh shadows on the surface. However, the exact distance depends on your preferences regarding the landscape’s appearance.
Still unsure about the placement of your lights? Try out our 3D Design Services to start planning the design and layout of your low-voltage landscape lighting today.
How Do I Install Low Voltage Landscape Lighting?
To begin installing low voltage landscape lighting, you may need some or all the following tools:
- Wire Strippers
- Screwdrivers
- Drill and Drill Bits
- Pliers
- Wire Cutters
- Wire Crimpers
- Voltmeter (capable of measuring 120VAC to 12VAC)
- Adjustable Wrench
- Tape Measure
- Hammer or Mallet
- Electrical Tape
- Shovel
- Core Drill Bits and Water Swivel
- Water Hose
How Do I Connect Wires For Low Voltage Lighting?
Now that you’ve placed your lights, it’s time to connect your wire. Here we’ll cover how to splice and connect your wires.
Splicing Wires and Connecting Light
There are several types of connectors that could be used to connect your low voltage lighting wires to your light fixtures. Sauder’s Hardscape Supply recommends silicone gel filled wire nuts or a mechanical crimp connector that includes a silicone gel filled housing. The silicone gel is for water proofing and insulating your electrical connection and greatly reduces hazard risks, such as electrical shock or fire.
Using a wire stripper or wire cutter tool, remove ½” to ¾” of the wire insulation from the ends of the wires to be connected. This length of insulation removal may vary with the number of wires that are to be connected. Holding the wires parallel and even length, twist the wires tightly together in a clockwise direction.
If you are using silicone gel filled wire nuts, twist the wire nut tightly onto the exposed wire. Continue twisting the wire nut until it tightens, and you can feel the tension of the wires being connected.
If you are using a mechanical crimp type connector such as SureSplice, insert the twisted together wires into the copper ferrules. Using a crimp tool, crimp the copper ferrule tightly onto the wires and then insert the crimped connection into the silicone gel filled housing, snapping the door closed firmly.
A note on polarity working with 12VAC – 24VAC. There is no polarity to speak of with alternating current, but it is still a good practice to connect all the light fixtures the exact same way. Each light fixture usually uses a 2-conductor wire that has a smooth insulating jacket on one wire and a ribbed insulating jacket on the other wire. The supply wire (12-2, Direct Burial 12 gauge 2 conductor wire) will have the same smooth and ribbed insulating jacket. When you connect a light fixture or fixtures to the supply wire, connect smooth to smooth and ribbed to ribbed. In this way all connections in the lighting run will be consistent.
Does Low Voltage Landscape Wire Need to be Buried?
The National Electrical Code (NEC) requires low-voltage wire up to 30 volts to be buried at least 6 inches deep. Burying low voltage wires is also a good idea because it protects the wire from damage and prevents a potential tripping hazard.
How Should I Bury Low Voltage Landscape Wire?
Plan the route of the wires, ensuring that it is the most direct route but avoids areas prone to water pooling and erosion. You’ll also want to check for utilities so that you avoid gas lines, water pipes and other electrical cables. Once that’s planned out, you can begin digging the trench. Use a shovel or trenching tool to dig to the desired depth and width to accommodate your wire and adhere to local regulations.
Lay the wire. Ensure that it is straight and taut so that there are no kinks or loops that could cause potential interference. Be sure to allow for future repairs and/or expansion by having some extra wire at each light fixture. Then you can add clips or staples to secure the wires in place to prevent them from shifting.
Turn on the transformer to test the connection to make sure that everything works. Fill in the trench when all fixtures are confirmed to be operating properly.
How Much Does Low Voltage Landscape Lighting Cost?
Sauder’s Hardscape Supply offers either high quality Brass or Aluminum fixtures. Some fixtures utilize drop in lamps and others are integrated fixtures with a built in LED module. Remember to add the cost of an LED lamp to the fixture if it requires a drop in lamp. Costs range from below $50 a fixture to above $250 in a wide variety of types from small in-paver lights to striking path lights. Pier cap lighting can be above $300 but can be below $100 depending on type and manufacturer. Drop in lamps can be below $10 to $100 depending on type, manufacturer, standard or smart WiFi lamps.
What Are The Pros and Cons of DIY vs. Hiring a Contractor For Low Voltage Lighting?
Completing this project yourself can be an extremely rewarding experience, allowing you to cut back on costs and have the landscape lighting you envisioned. However, it could lead to potential mistakes or risks that could be avoided if you hire a professional. Here are some of the reasons why doing it yourself could be a good option:
- Save On Labor Costs
- Control Over Layout and Design
- Easy To Install
- Convenience of Working at Your Own Pace/On Your Own Schedule
- Satisfaction of Having Completed the Project Yourself
Installing low voltage landscape lighting may not be a good option for a few reasons, including:
- Risk Of Electrical Shock
- Potential Fire Hazard
- Time and Effort Spent Designing and Installing the Lighting
- Could Lead to Mistakes with no one to fall back on for help in troubleshooting any potential problems.
Hiring a professional is a good option if you feel overwhelmed by the prospect of installing low voltage landscape lighting yourself. Let’s look at some of the pros of having a contractor do it for you:
- Save Time and Effort Spent
- Avoid Potential Risks and Mistakes
- They Utilize their Knowledge, Skills, and Experience to Design and Install Your Lights
- Knowledgeable of Safety and Compliance Codes
Here are some of the cons of having your lights installed by a contractor:
- More Expensive Than Doing It Yourself
- Miss Out on The Opportunity to Complete a Rewarding Project
- Less Control Over the Design and Timeline of the Project
Ready To Begin Installing Low Voltage Landscape Lighting?
If you need any help installing low voltage landscape lighting or decide you want a contractor to do it, Sauders Hardscape is here to help. You can contact us with any questions, and we also have a list of contractors that can help you with your landscaping needs. We offer many choices for your landscape lighting and all the supplies you need to install them. Not sure how to design your lighting? Use our 3D Design Services to get started.
Begin Your Project journey at our showroom
Visit our 5,000 square feet indoor hardscape materials showroom in New Holland, PA where you will find hardscape layouts, outdoor kitchen ideas, patio paver designs, patio lighting features, and our high-quality patio furniture all on display. Find the colors and textures that best complement your style, and a guide to help you choose the best combinations for your hardscape project in New Holland, PA. Here you will find hundreds of hardscape materials on display along with a full display of backyard and patio ideas.

